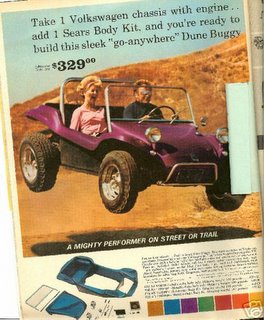
The chassis selected for the Terra-Buggy running gear should be that of the 1200-series or newer, Volkswagen sedan. the Volkswagen variant, truck, Bus, or Karmann Ghia chassis will not suffice. The instruments, wheels, transaxles, and engines from these autos may be used.
Removing the body is not a difficult task, however, note that the factory has used all metric bolt sixes. Special care should be taken not damage any part which could be sold for parts.
The parts you must save are as follows:
1. Seats and helper springs for adjustment.
2. Battery, strap and cover.
3. 1961 or later gas tank, saving the 4 rectangular washers.
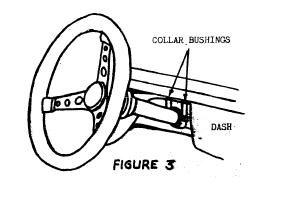
4. Steering column, remove clamping bolt at bottom end of shaft. Save all the steering column assembly. Remove 2 blots and clamp at upper end of the column and save. When removing steering column clamp from the body, save the rubber grommet at the upper, and lower end, as these will be used later.
5. Remove wiring. As you do this tag all disconnected ends for future re-assembly. Color-coded wiring diagrams are shown in the VW Owner's Service Manual.
6. Remove and save: Speedometer, drive cable, ignition switch with bolts, light switch, 1958 or later windshield wiper, windshield wiper switch, gas gauge and sender cable; turning indicator lights, horn, tail lights, license plate light and fuse block. Not forgetting to include all rubber pads, washers and nuts. The larger 1961 or later tail lights are preferred.
7. Brake reservoir.
8. After all the above items have been removed and saved, the body is ready for removal frim the chassis. Bolts wil be found under the back seat, rear fenders, running boards and the gas tank. Save the rectangular washers from under the running boards.
9. Remove the and save the rubber mounting strip from the perimeter of the chassis.


